Businesses who use Foore get 32% more reviews. More reviews mean better search rankings and up to 12% increase in revenue.
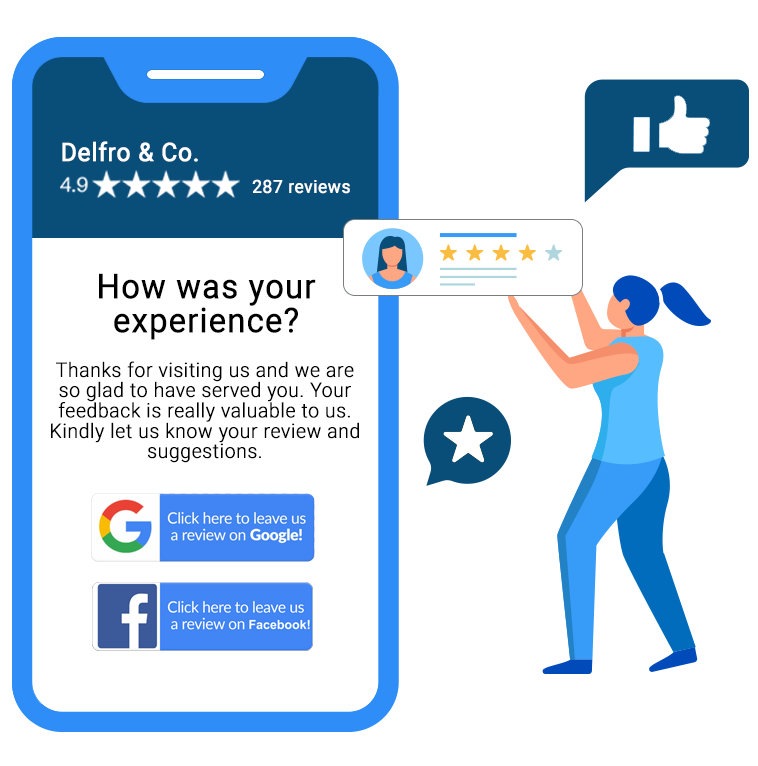
Your customers are willing to write a review or provide feedback. All you need is to ask them at the right time and on the platform of their choice. With Foore, you can automate your review collecting process. Check-in your customer on Foore dashboard and your customer will receive a message to give feedback either on Facebook Messenger or on mobile phone.
Businesses who use Foore are able to collect 32% more reviews. More reviews mean better search rankings and up to 12% increase in revenue.

Responding to your Google reviews on time is important. But when you are getting 100s of reviews every month, auto-responder comes handy. With Foore, you can manage all your reviews on a single dashboard.
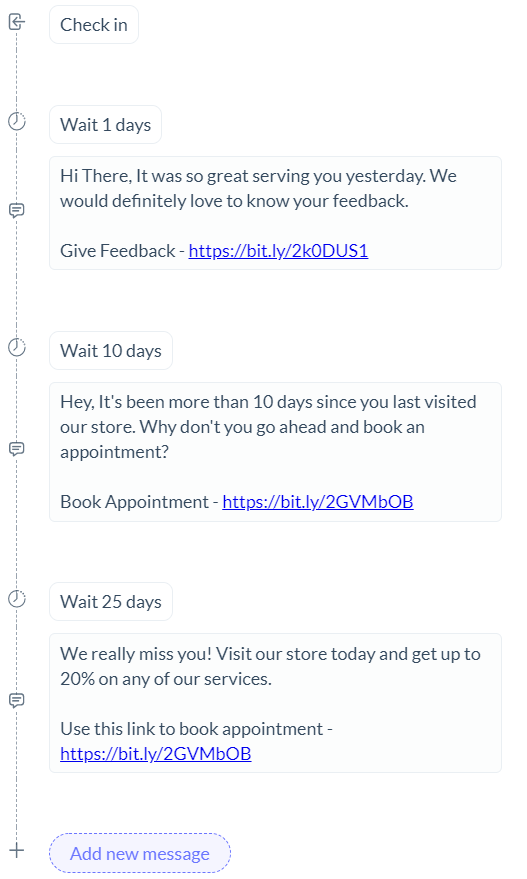
Add your customers to ‘Message Sequences’ and update them with latest offers or products. Or just let them know that how much you miss them. Delight your customers by sending birthday or anniversary messages automatically.

With Foore’s live chat feature, you are 80% more likely to convert your visitors into customers. Comes with modern features like automation, user profiles, customer management & saved replies.
Your Google reviews impact your Google listing ranking. With Foore, you can increase your Google reviews and can stay on top of Google easily.
“A really great platform to increase your efficiency & build customer relationships.”
“Foore has made my life so much easier. I am really amazed by the phenomenal customer support. ![]()
![]() “
“
“I was able to focus on sweets and customers during Diwali while Foore took care of customer enquiries.”


A modern tool that helps you not just increase your reviews but build better relationships with your customer. Comes with powerful features like chat automation, Facebook & SMS broadcasts. While the tool works for you, every important detail is been tracked for you to get better insights.
Industries
Other Links
Products & Use Cases
© 2019, Foore Data Labs Pvt. Ltd.
![]()
![]() #3, Air View, 3rd Cross, Near HAL Airport, Bangalore
#3, Air View, 3rd Cross, Near HAL Airport, Bangalore
![]()
![]() 2035 Sunset lake road, Suite B-2, Newark DE, 19702
2035 Sunset lake road, Suite B-2, Newark DE, 19702
